After we released the Gluon NetBeans Plugin a while ago (get it here), we’ve been working very hard on developing the plugin for IntelliJ IDEA.
And now we proudly present it! You can download it from JetBrains, or you can directly install it from Idea IDE.
In this blog post, we’ll explain briefly how to install it and how to use it to create a sample application that can be deployed on desktop, Android and iOS devices.
Prerequisites
Before getting any further, please visit Getting Started and check the list of prerequisites for the use of the Gradle jfxmobile-plugin. Mainly you will need Gradle and Android SDK installed on your system.
Plugin Installation
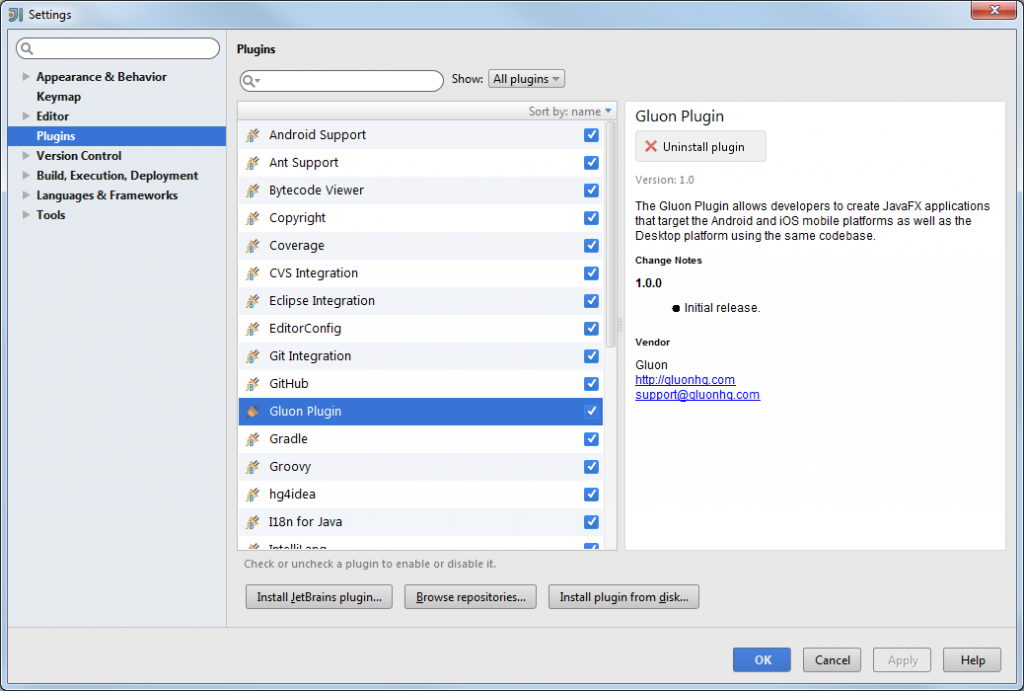
Open IDEA, click File→Settings and select Plugins on the left. You will see the installed plugins on your system.
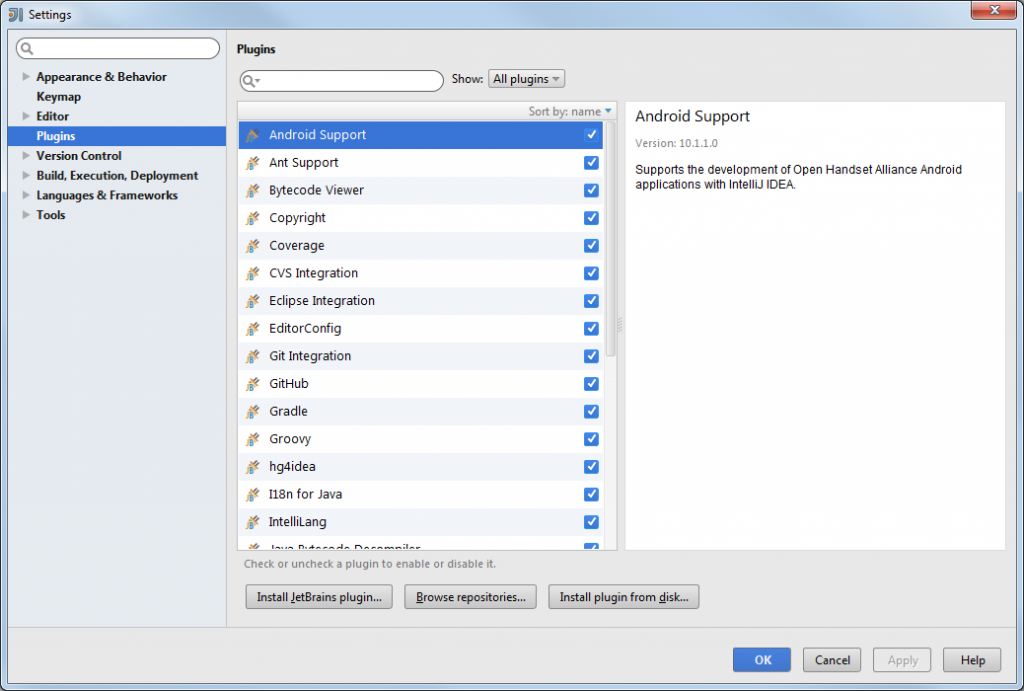
Settings Window
Now click Browse Repositories…, find Gluon Plugin, click Install plugin, and confirm installation:
The Gluon Plugin will be downloaded and installed. You may need to restart the IDE. Then you can check that the plugin is correctly installed:
Creating a Gluon new project
Now that we have the plugin installed, we are going to use it to create a sample application.
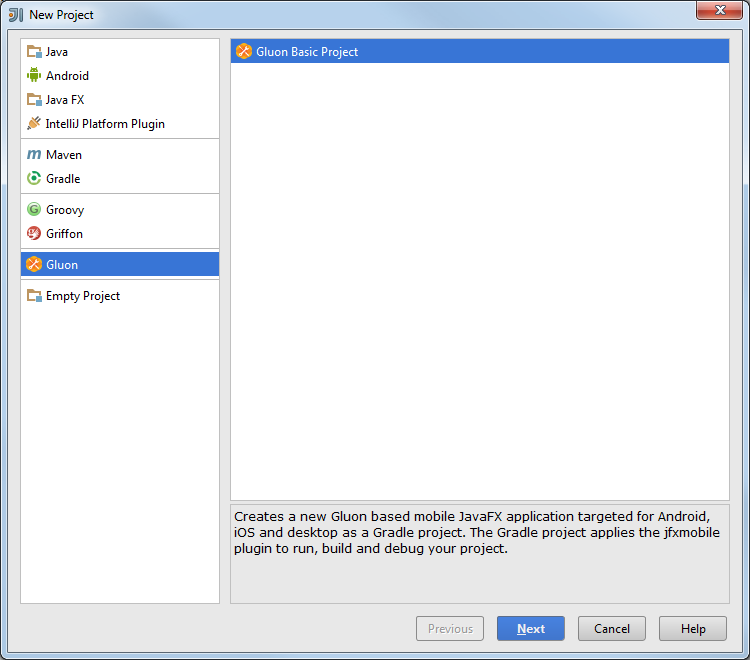
On IDEA, click File→New→Project… and select Gluon on the left, and press Next.
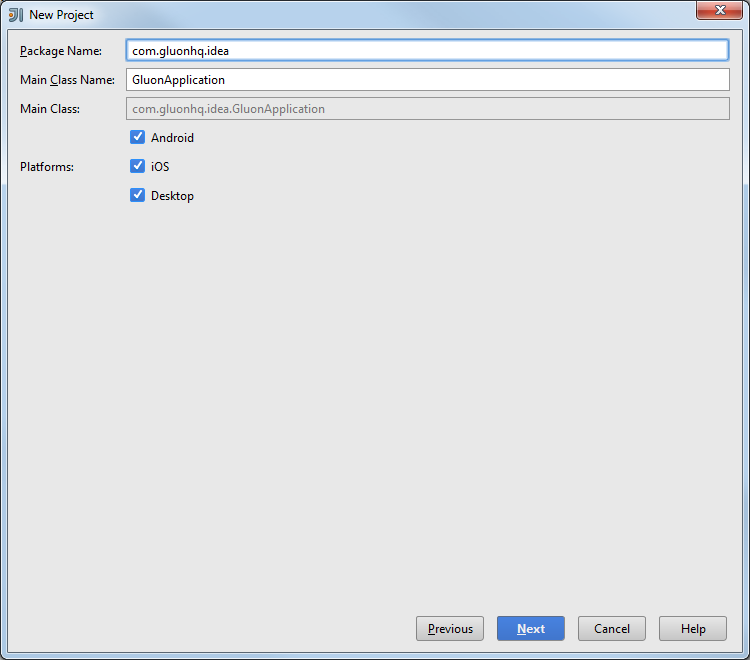
Type the package name and the main class name. Note that you can select what platforms the project will be deployed to. Press Next.
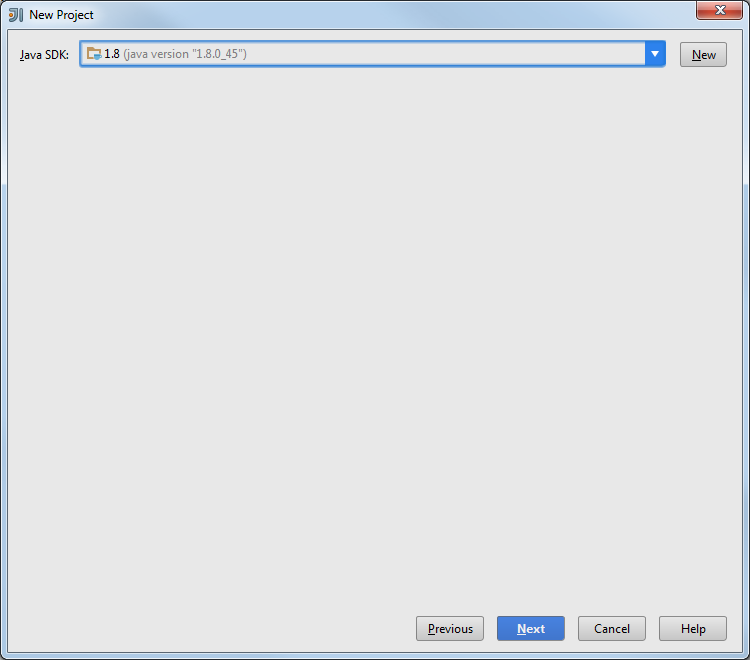
Select a valid Java JDK and press Next.
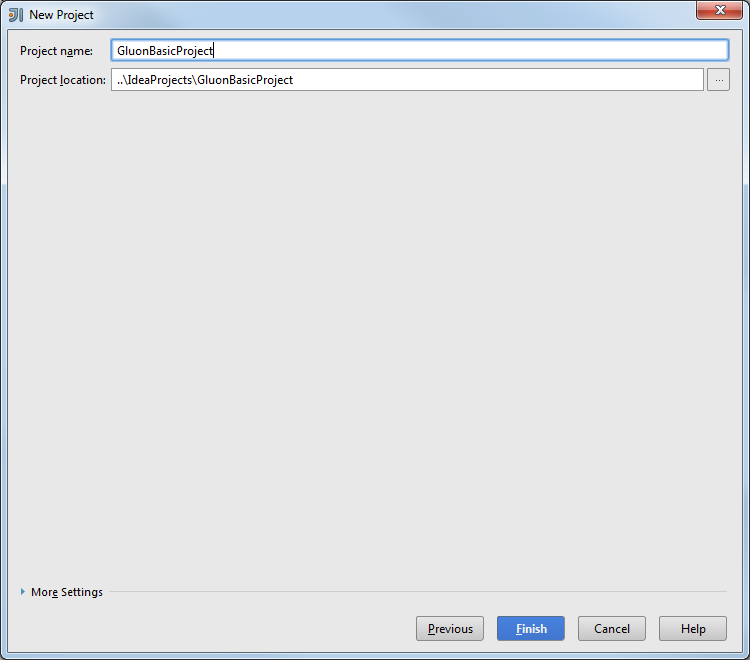
Now find a name and a location for the project and press Finish.
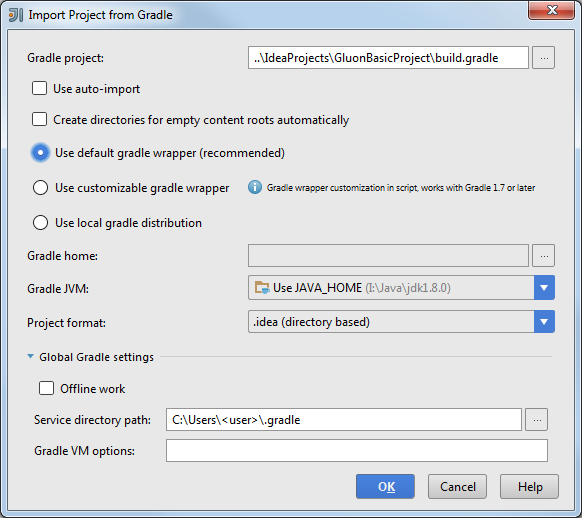
IDEA detects we are trying to import a Gradle project, and asks for some options. We can select the default ones:
Note that is really convenient setting the ANDROID_HOME property in the .gradle/gradle.properties file.
Press OK and the project will be imported and opened.
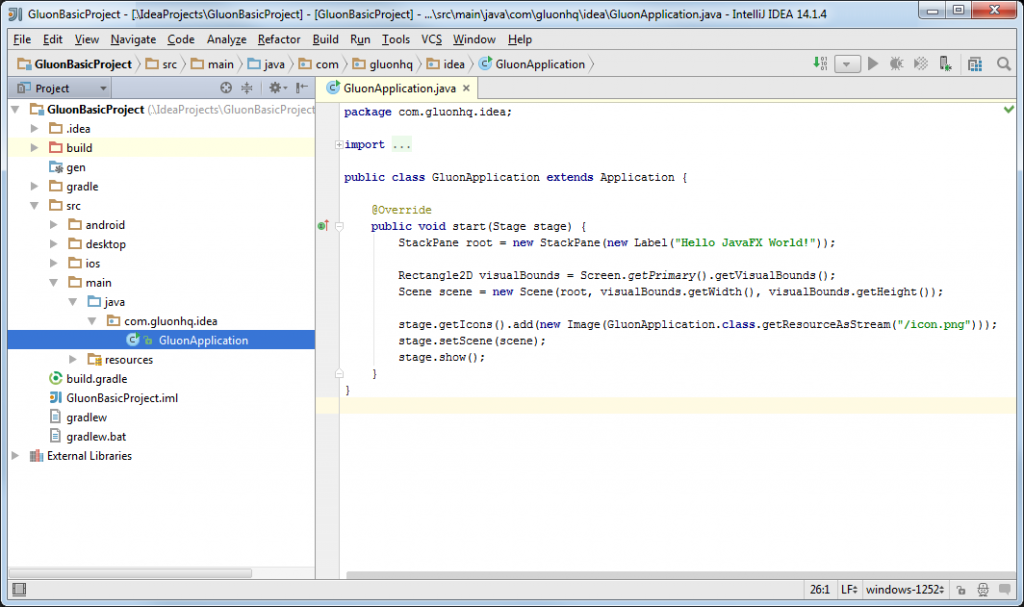
If you are familiar with the JavaFXPorts project, you will see the different folders created:
mainfor the common code for all the platformsdesktopfor the specific code that runs only on desktopandroidfor the specific code that runs only on Android devicesiosfor the specific code that runs only on iOS devices
There’s some default code in our main class, so we’ll be able to run it withoud adding a single line of code.
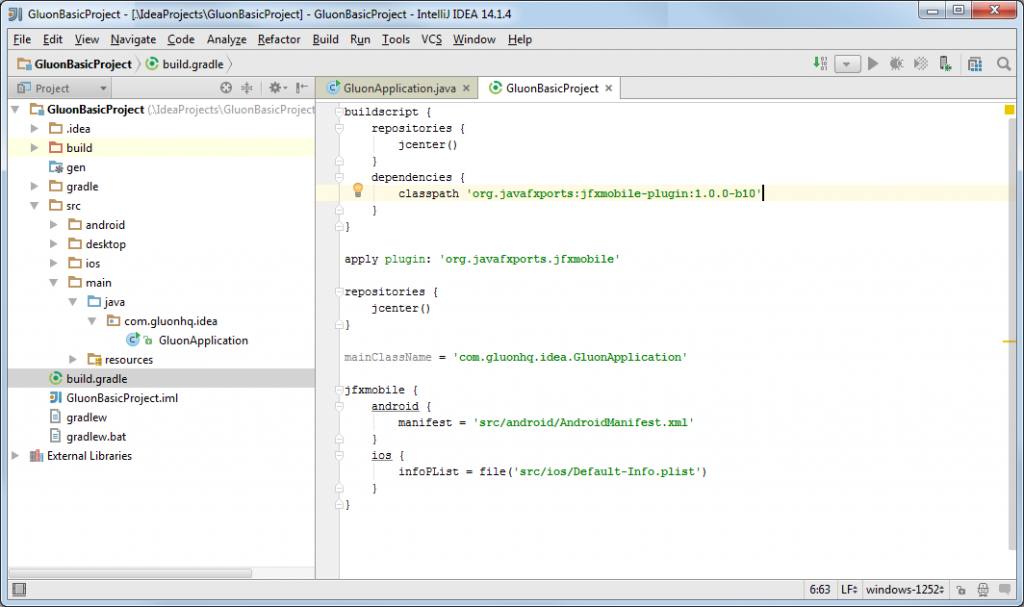
Before that, notice the jfxmobile-plugin is constantly evolving and by the time of this writing the version is 1.0.0-b10, so edit the build.gradle file and update it, if need to.
Deploying the project
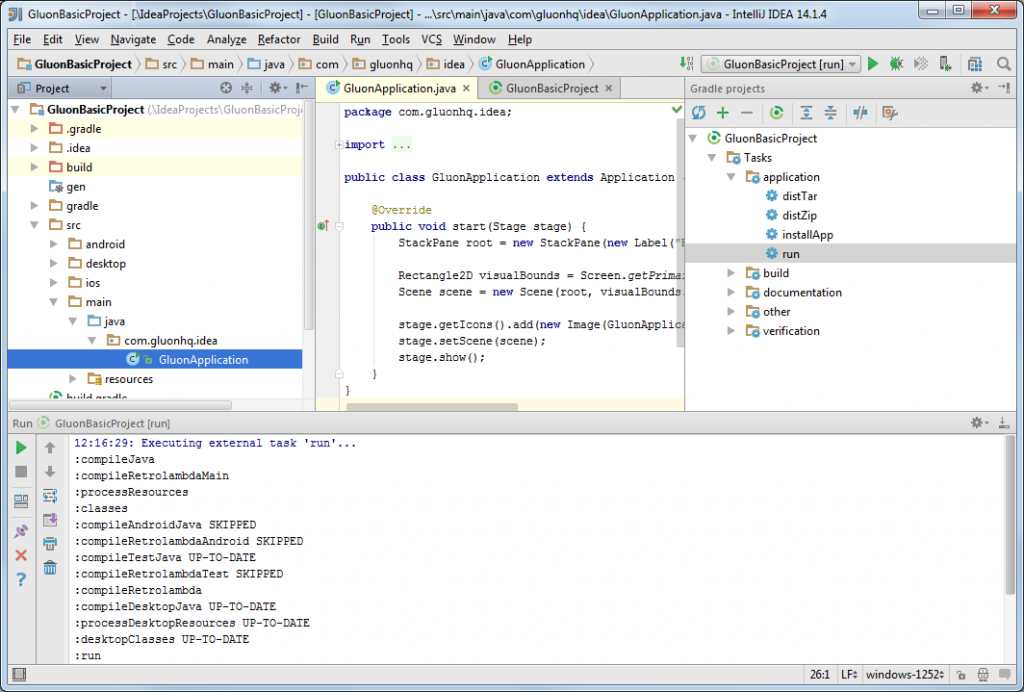
The plugin includes a series of tasks, and to access to them we just need to click View→Tools Windows→Gradle and a panel will show up on the top-right with them.
Before deploying on mobile it’s easier running first on desktop, and verify there are no errors.
To do that, select from the tasks list Application→run and double click on it. Verify that all the tasks are executed without errors, and the project runs fine on your desktop.
Let’s make some slight change in the code:
StackPane root = new StackPane(new Label("Hello from IntelliJ IDEA!"));
and run it again to see the new message showing up on your desktop.
Now we are ready to deploy for Android or iOS devices.
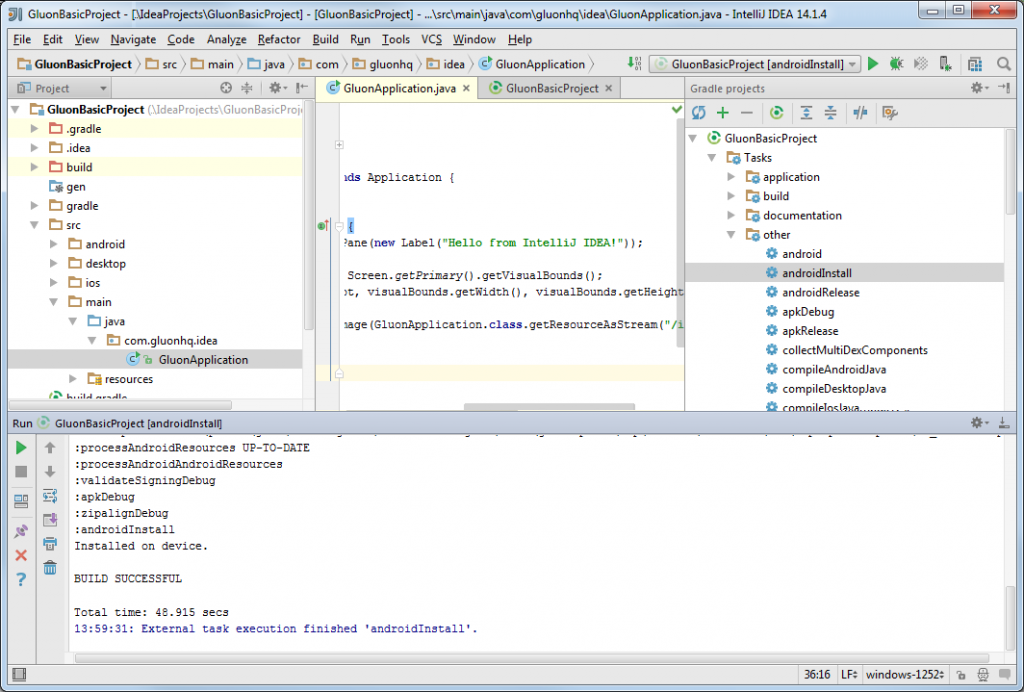
For Android, for instance, select other→android from the tasks list to create the apk or other→androidInstall if you have your Android device connected.
And now check your mobile:
Conclusion
If you have made it here without problems, congratulations!
If you have found any difficulties along the way, please review the lists of prerequisites and try again, and if the problems still persist, you can visit our Forums, and ask any question there if you don’t find a suitable solution.
We encourage you to start developing new projects that can be deployed on desktop, Android and iOS devices using Gluon plugin on your favorite IDE.


