
After having released the Gluon Plugin for both NetBeans and IntelliJ IDEA, we can proudly announce support for another major development platform: Eclipse.
In this post, we will briefly go through the installation process and explain how to create your first basic Gluon application that can be deployed on desktop, Android and iOS devices.
Prerequisites
Before installing the plugin, make sure that you have installed Eclipse Mars (4.5). Because the Gluon Plugin for Eclipse generates Gradle projects based on the jfxmobile plugin, we advice you to read the prerequisites on the Getting Started section of the javafxports documentation website.
Plugin Installation
Eclipse Markeplace
The easiest way to install the Gluon Plugin can be done through the Eclipse Marketplace. Open Eclipse and choose Help→Eclipse Marketplace…. Type gluon in the search field and press Go to find the plugin.
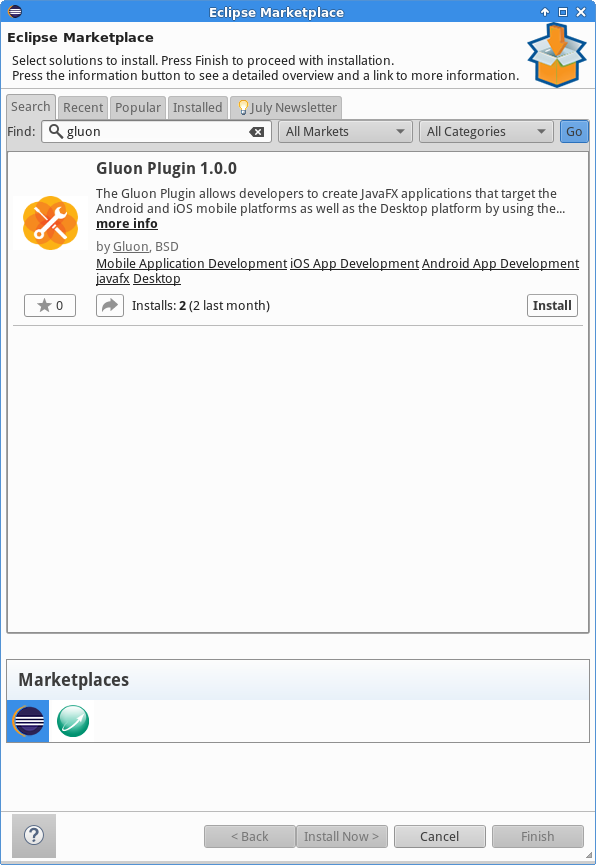
Press the Install button to begin the installation. Select the Gluon package and optionally the e(fx)clipse package. e(fx)clipse is recommended as it adds a lot of functionality for JavaFX applications development.
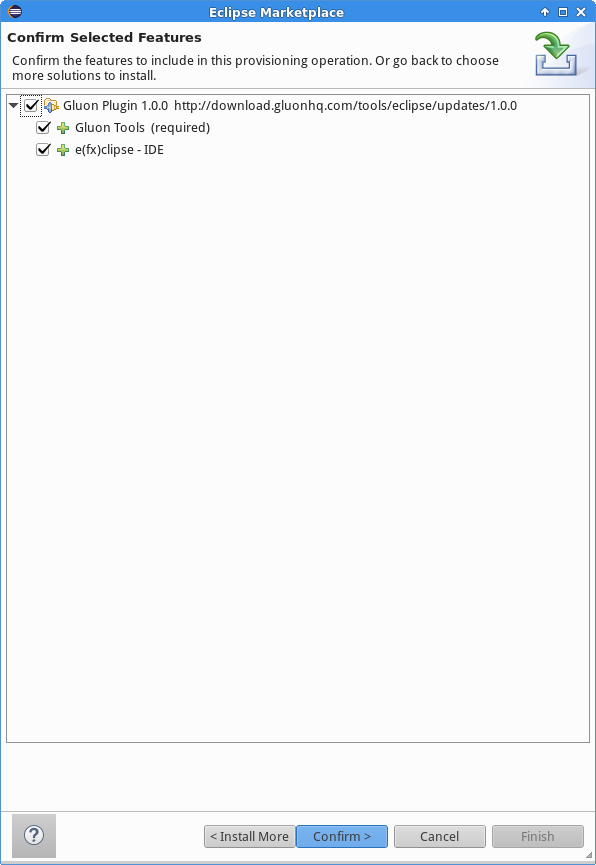
Press Confirm and accept the terms of the license agreements.
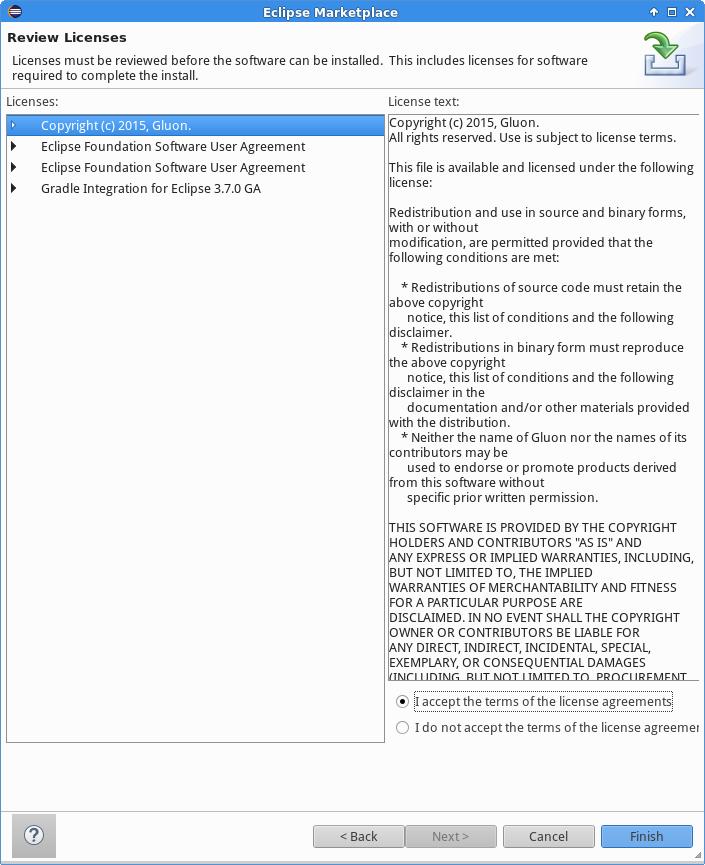
Press Finish to begin the installation of the plugin. The Gluon Plugin will be downloaded and installed.
During the installation process, Eclipse will ask you to trust the Gluon certificate.

Select the Gluon certificate and click OK to continue the installation. When the installation is completed, Eclipse will ask you to restart your IDE for the changes to take effect.
You can now continue to Creating a new Gluon Project.
Update Site
Alternatively, you can install the Gluon Plugin by providing an update site. Open Eclipse and choose Help→Install New Software….
Paste the following Update Site URL in the Work with: text field: http://download.gluonhq.com/tools/eclipse/updates/1.0.0.
Select the Gluon package and optionally the e(fx)clipse package. e(fx)clipse is recommended as it adds a lot of functionality for JavaFX applications development.
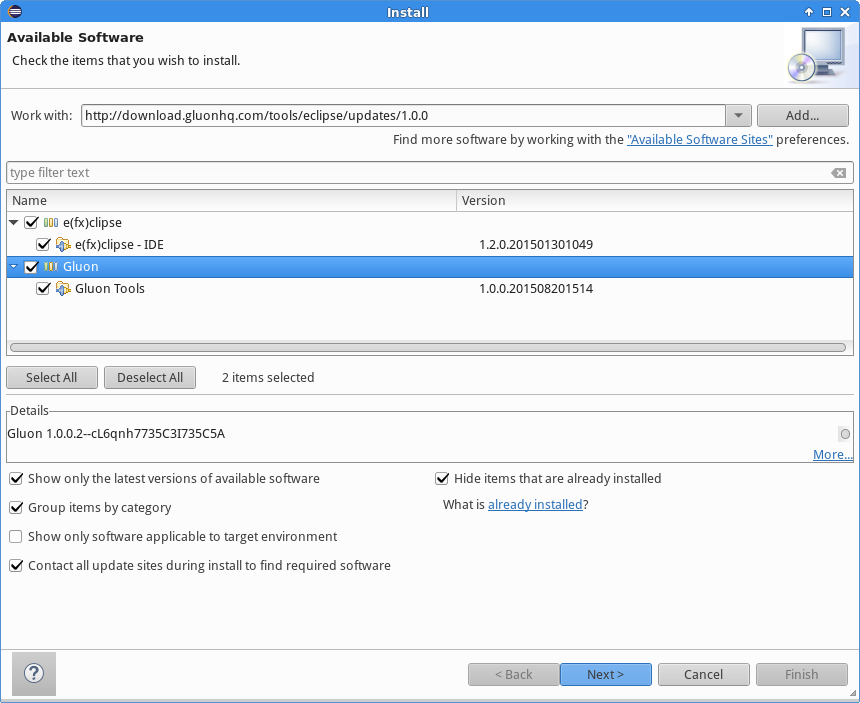
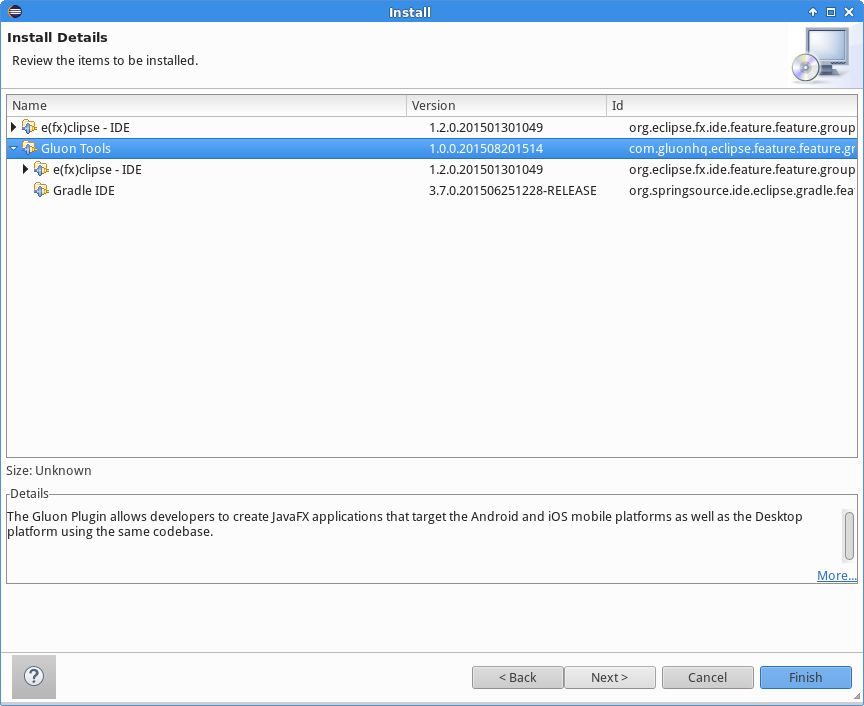
Press Next and review the items that are going to be installed.
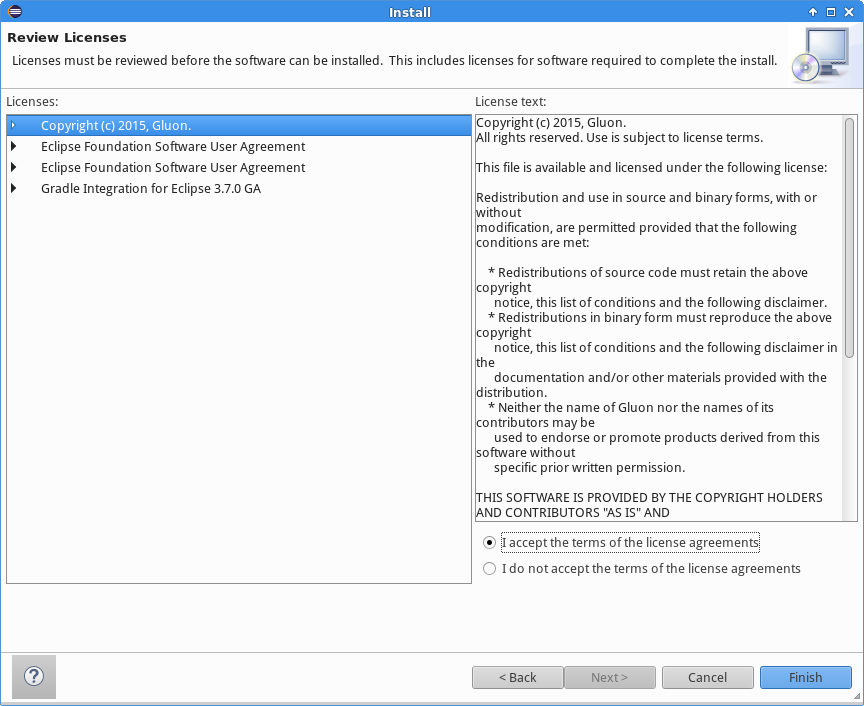
Press Next again and accept the terms of the license agreements.
Press Finish to begin the installation of the plugin. The Gluon Plugin will be downloaded and installed.
During the installation process, Eclipse will ask you to trust the Gluon certificate.
Select the Gluon certificate and click OK to continue the installation. When the installation is completed, Eclipse will ask you to restart your IDE for the changes to take effect.
Creating a new Gluon Project
Now that the plugin is installed, we can use it to create a sample application.
In Eclipse, click File→New→Project… and select Basic Gluon Application from the JavaFX category and click Next.

Provide a name for the project, optionally choose a custom location to store the project and click Next.

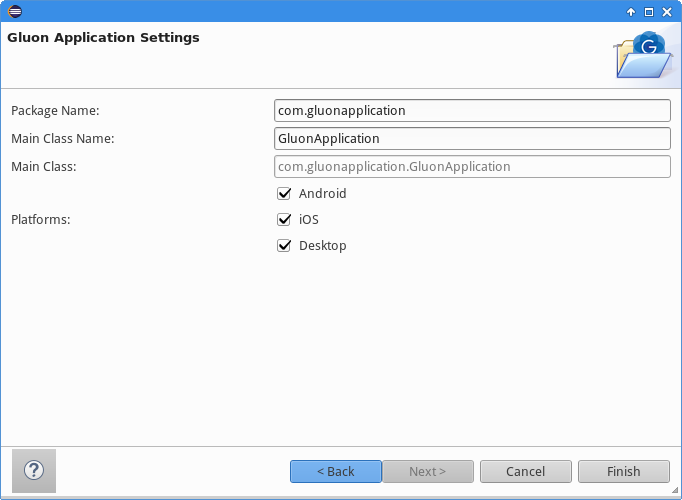
The plugin will generate a JavaFX application class. In the following step you can configure the name of the package and the name of the class that will be generated. Furthermore, the plugin will prepare the directory structure and necessary files for every selected platform. Click Finish to complete the creation of the Gluon project.
Please note, creating a Gluon project for the first time, might take a while to complete. This is because the gradle build process will initially download all the dependencies of the project.
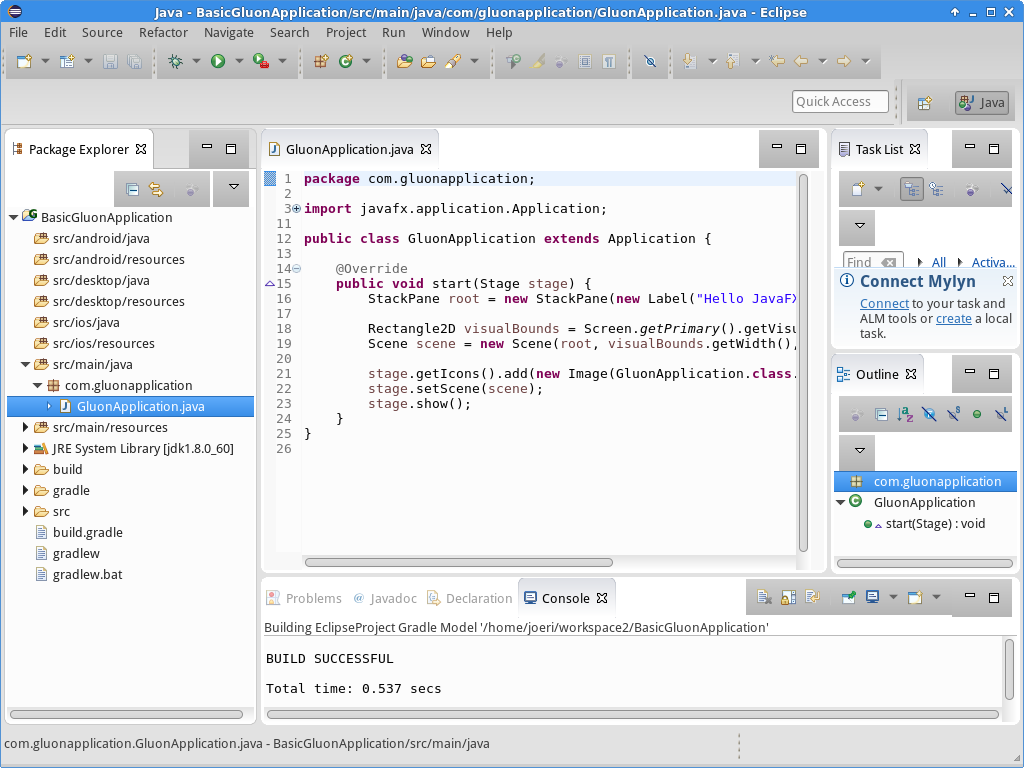
If you are familiar with the JavaFXPorts project, you will see the different folders created:
- main for code that is common to all platforms
- desktop for code that should only run on a desktop
- android for Android specific code
- ios for iOS specific code
There’s also the default JavaFX application class, so we’ll be able to run it without adding a single line of code.
Deploying the application
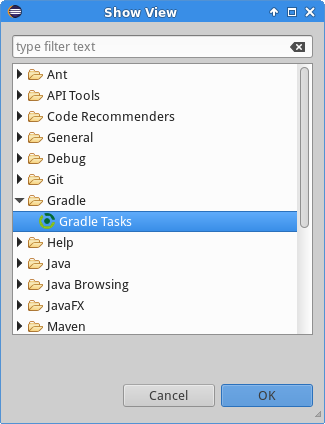
The project that is created by the plugin is a Gradle project, which already has the jfxmobile-plugin applied. The jfxmobile-plugin provides a series of gradle tasks that can be used to run your application on any of the supported platforms. To get an overview of the different tasks, open the Gradle Tasks view by selecting Window→Show View→Other…. You can find the view under the Gradle category.
In the Gradle Tasks view, select the project you just created in the Project combobox and it will load all the available gradle tasks.
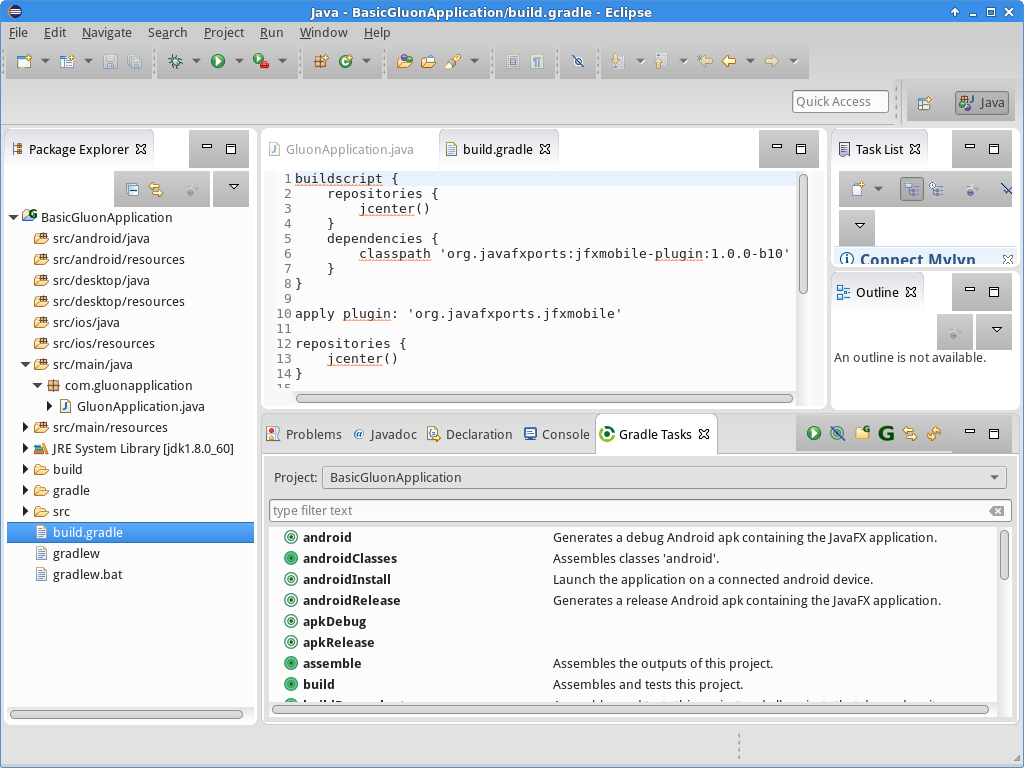
Before deploying on mobile it’s easier to run the application on desktop first to verify there are no errors. Double click the run task from the list of tasks to launch the application on your desktop. After a while, a window should appear showing a label with a single line of text: “Hello JavaFX World!”. If all went fine we can make a small change to the code. Update the text of the label on line 16 to the following:
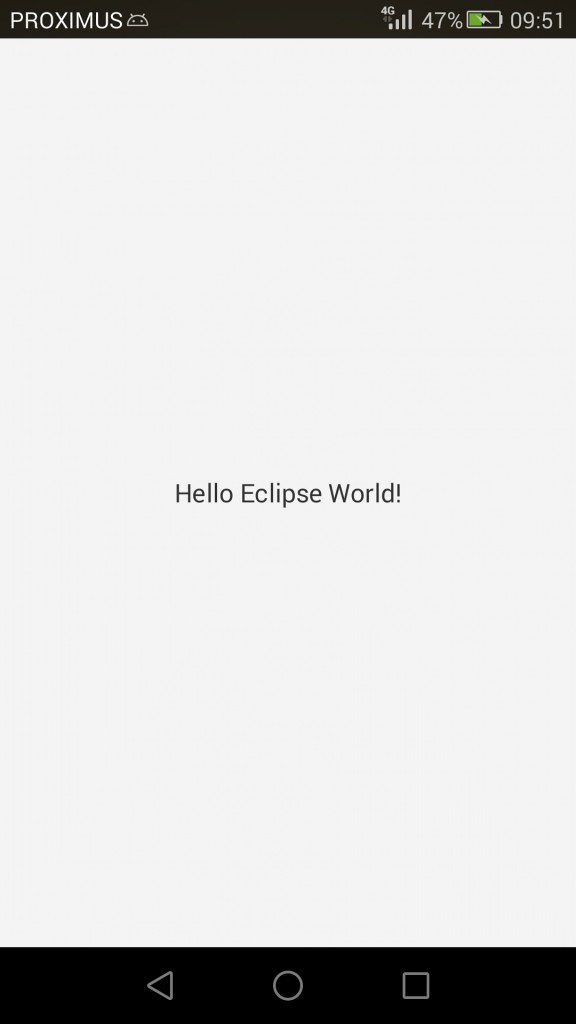
StackPane root = new StackPane(new Label("Hello Eclipse World!"));
Run the application again to verify that the text inside the label has changed. As a final task, we can try and install the application on a mobile device. Again, make sure that you have followed the prerequisites of the jfxmobile plugin for the platform that you are going to install the application to. When you are ready and your mobile device is plugged in, choose the task androidInstall for Android, or launchIOSDevice for iOS. Please note, that any of these tasks might take a while to complete. Especially for iOS, because when the task is run for the first time, it has to convert the entire RoboVM and JavaFX runtime to iOS native code. If everything went successful, you should see something on your device like the screenshot below:
Conclusion
If you have made this far without problems, congratulations!
If you have found any difficulties along the way, please review the prerequisites and try again. If the problems persist, you can visit our Support Forums and ask any question there if you don’t find a suitable solution.
We encourage you to start developing new applications that can be deployed on desktop, Android and iOS devices using the Gluon Plugin on your favorite IDE.